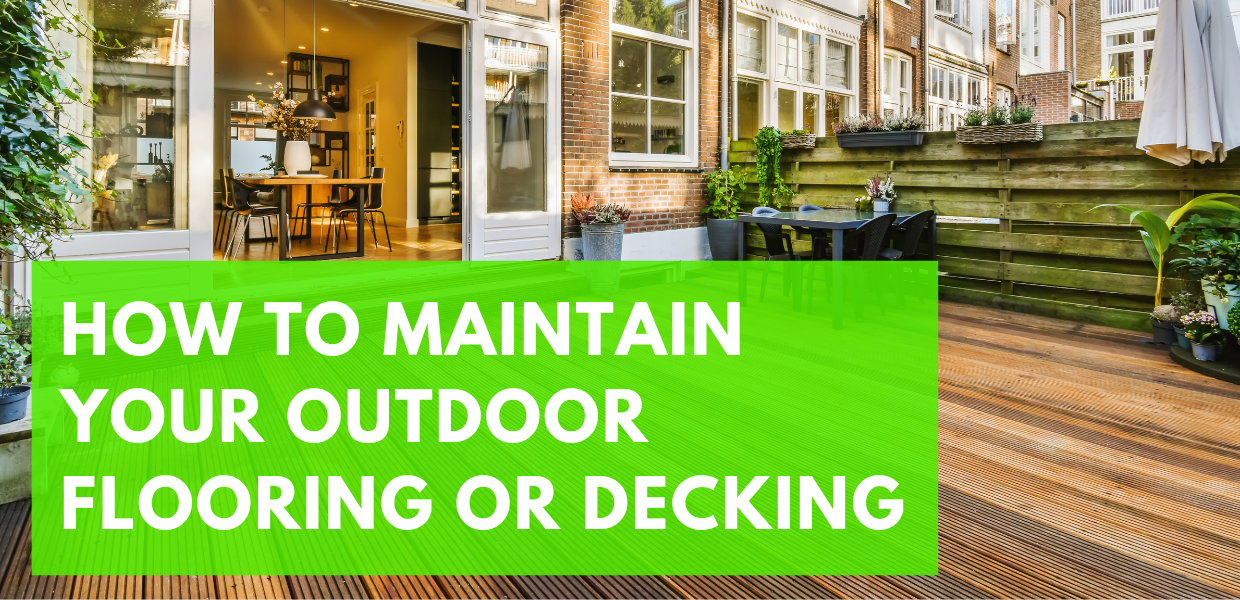
Your patio should be a beautiful and practical addition to your home, helping you to enjoy spending plenty of time outdoors with your friends and family.
If you want to get the maximum usage and longevity from your patio outdoor entertaining area, it’s important to know how to maintain your outdoor flooring or decking.
From decking and outdoor paving, through to outdoor tiles and concrete flooring, here is our step-by-step guide to cleaning and maintaining your outdoor flooring.
Request FREE Quote
Call (08) 9493 7115
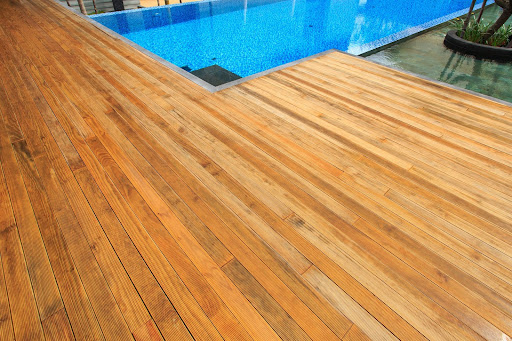
How to Clean a Deck
Severely stained decks are not ideal, so we’re here to help you keep your outdoor area looking sharp.
Regular maintenance is extremely important for a timber surface as it has to cope with diverse weather conditions all year round.
You need to perform a thorough timber deck clean at least once a year if you want to make sure your deck looks its best and lasts as long as possible.
1. Remove External Objects
Remove all external objects you have on your deck, such as patio furniture or potted patio plants.
You may also want to lay a protective covering - which you may be able to find at a local hardware store - underneath the deck to protect anything growing below it.
2. Sweep the Deck
Sweep the deck with a broom to remove all dust, leaves and other debris. This is particularly important in the corners, where dirt can easily collect.
3. Wash Away Debris
Wash away and remove excess dirt using a garden hose.
You can also do this with a pressure or power washer, but take great care if you choose this option as too much pressure can cause damage to the wood.
Keep the pressure washer a good distance from the deck and use the lowest setting.
While you’re performing this step, remember to hose in between the decking boards as well as the deck itself as debris can often get caught between the boards.
4. Scrub the Deck
Scrub your deck with liquid dish soap mixed with hot soapy water.
There is no need to use any harsh chemicals as these can damage the wood.
Scrub with a brush or sponge until you create a lather, then leave for 10 minutes before rinsing clean with warm water.
Leave the deck to dry naturally.
5. Treat For Algae and Mould (Optional)
If you want to keep your deck in the best possible condition, it is a good idea to treat it for algae and mould.
There are a number of excellent disinfectant products available that remove stubborn stains and prevent mould and algae from regrowing.
6. Reseal Deck With a Waterproof Sealer
Once you have completed all these steps, reseal your deck with a waterproof sealer.
This will enable the wood to cope with elements and keep your deck looking great until next year’s deep clean!
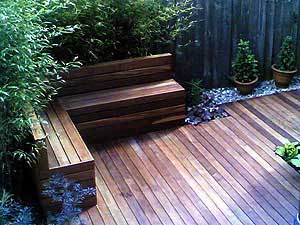
How to Oil A Deck
High-quality outdoor flooring such as timber decking can transform your outdoor space and provide your friends and family with the perfect place to dine, relax and enjoy. However, to keep your timber decking in tip-top condition, it needs a little tender loving and care.
Oiling a patio deck will bring your timber to life and help protect it from the harsh Australian weather, but there are few things to consider before you begin. If you’ve never oiled a deck before, our simple step-by-step guide will show you how to do it right.
How Do You Choose a Decking Oil?
When choosing a decking oil you will want to consider the look you want to achieve, how much footfall your space is going to get, and what type of timer your decking is constructed from.
In general, choose an oil that will complement the grain of your timber and highlight the wood’s natural texture and colour.
A good-quality decking oil should also be easy to coat, is water-repellent, and offers UV protection and resistance against mould and fungi.
If you’re pushed for time, a water-based oil will dry more quickly and will allow you to use your deck on the same day as oiling.
How to Oil a Deck: A Step-by-Step Guide
- Pour the oil into your bucket and give it a thorough stir so that the colour is well mixed and evenly distributed throughout. This will ensure an even application.
- Find a discreet area of decking where you can test the colour. Allow the timber to dry fully so you can see the final results.
- If you’re completely happy with the colour, begin to apply the oil using either a roller (faster application, ideal for larger areas) or timber brush (slower but better for smaller areas, such as extension gaps).
- Start in the furthest corner of your decking, and make sure you have an exit route planned that won’t require walking over freshly oiled timber.
- Work in controlled, smooth motions along the length of the boards, liberally coating each one completely.
- Oil three or four boards at a time from one end to the other – this will help you to avoid any overlapping marks.
- Make sure all areas of your decking are completely covered so that your timber has comprehensive protection from the elements.
- Leave decking to dry as per oil instructions, then apply further coats as necessary. Decks that are in good condition will typically require only one coat, while older decks may require two or three.
How to Maintain Your Patio Deck
It’s important to re-oil your deck to keep the wood protected, give your timber a longer lifespan and keep it looking its best.
We recommend oiling your deck every 6-12 months or whenever it starts to show signs of deterioration.
You’ll know if it’s time to re-oil if your deck begins to look patchy or discoloured around the edges.
If it does, follow these simple steps to re-oil:
- Sweep away any dirt and dust from the surface of your deck.
- Give your deck a good clean – hose it down and scrub with a brush.
- If you’re oiling an older deck that has been previously stained or painted, use a stain or paint remover.
- Sand any rough edges and areas using a belt sander, palm sander or sponge sander.
- You’re now ready to apply a fresh coat of deck oil to your timber. Follow the steps above.
How to Clean Outdoor Tiles
Outdoor tiles are hardwearing and relatively easy to maintain, but they do need some TLC to keep them looking at their best. Luckily, it is often very simple and straightforward to clean outdoor tiles.
1. Sweep Away Debris
Sweep away any debris using a soft broom.
This will remove sand and grit, as well as larger items such as leaves, without scratching the surface of the tiles.
2. Scrub With Warm Water and a Soft Brush
Scrub the entire tiled area with warm water and a soft brush.
There is no need to add any chemicals unless the surface dirt is not coming away easily.
If the first is proving more stubborn, you can add some liquid dish soap to the water.
In the case of the most difficult stains, such as oil or bird mess, you might want to use a specialist alkaline tile cleaning product.
3. Rinse With Hose
Once all dirt and stains are removed, rinse the tiled area using a hose.
Then mop thoroughly, preferably with a squeegee mop, to remove any excess water.
Leave to dry naturally, and your outdoor tiles should sparkle like new!
How to Clean Concrete Flooring
Stylish and highly durable, concrete has become extremely popular for patios in recent years.
It looks sleek and withstands all weather conditions effectively.
Concrete flooring is easy to care for, but it can be susceptible to staining.
If you do want to get the most out of your concrete flooring you need to give it the right treatment.
1. Remove Furniture
Remove any furniture, potted plants or other items from your concrete patio.
Then use a stiff-bristled brush to sweep away any loose debris such as leaves and dust.
2. Mix Solution
Mix a cleaning solution of trisodium phosphate and water.
Always follow the instructions carefully when doing this and wear protective gloves as you are dealing with a harsh chemical.
3. Pour Solution
Pour the solution into a pressure washer as this is the easiest way to clean your concrete patio.
If you don’t have a pressure washer, you can still clean your patio effectively using alternative methods.
Simply wet the concrete first with a hose, then use a stiff brush to spread the solution around your patio, making sure to scrub any stains away.
When you’re finished, rinse the area thoroughly with clean water and leave it to dry.
4. Check Stains
Once you have cleaned your patio with trisodium phosphate, it is time to check for any stains that haven’t been removed.
Grease, food, rust and mildew can all be particularly difficult to remove from concrete flooring.
Most food stains and mildew can easily be removed with household detergent or dish soap.
5. Remove Stains & Vacuum
White vinegar is highly effective for removing rust stains.
However, for more difficult stains, such as grease and oil, you can sprinkle cat litter over the stain and leave it there for at least three days so it can absorb the oil.
Then vacuum the area, and the stain should be gone.
Whatever cleaning products you have used on your concrete flooring, make sure to give it a thorough rinse afterwards to make sure your patio looks like new.
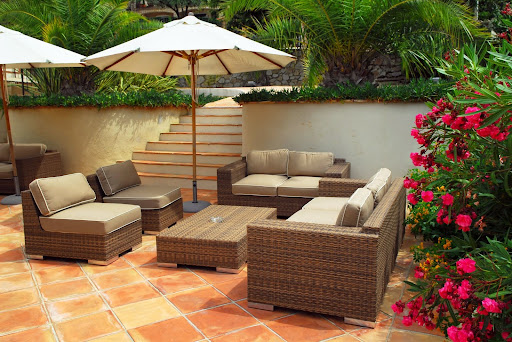
How to Clean Outdoor Paving
Paving slabs make for a classic patio.
They can easily be tailored to suit your tastes, and they provide a hardwearing, durable surface that will withstand all your usage needs.
However, if you want them to look great for as long as possible, you need to know how to clean them properly.
1. Remove Clutter
Remove any clutter from your outdoor paving, including furniture, plants and toys.
You will also want to pull up any weeds that may be growing in the cracks between the paving slabs.
Then sweep the area thoroughly to remove any surface dirt and debris.
2. Mix Warm Water & Dish Soap
Mix warm water with dish soap or white vinegar in a bucket.
Your outdoor paving should not require any specialist chemicals to get it clean.
3. Scrub Paving With Mixture & Brush
Pour a little of the mixture at a time onto your paving slabs and scrub with a stiff-bristled brush.
Pay particular attention to any stains.
4. Rinse With Hose
Once you have scrubbed the entire patio, rinse with a hose. Then leave your outdoor paving to dry naturally. The result should be a sparkling, clean patio.
Contact the Perth Patio Experts Today
Great Aussie Patios are an Australian patio builder and installer. We design and build patios, pergolas, and carports for both commercial and residential clients across Perth, WA.
To find out more about how we can transform your outdoor space and add value to your home with our patios and pergolas, contact us on (08) 9493 7115 or get a free online quote today!
Request FREE Quote
Call (08) 9493 7115